
The UI Builder uses a grid system framework to let you flexibly build customizable pages with exactly the look and feel that you want. Login pages, the gateway to your CMS, are a great place to exercise some of that customizability by giving even the little details of your application a branded look. Check out this guide to walkthrough how easy it is to build a login page without writing a single line of code.
Note: If you’ve got access to the Betty Blocks platform already and would like to follow a more in-depth guide, you can check out our “How To” documentation.
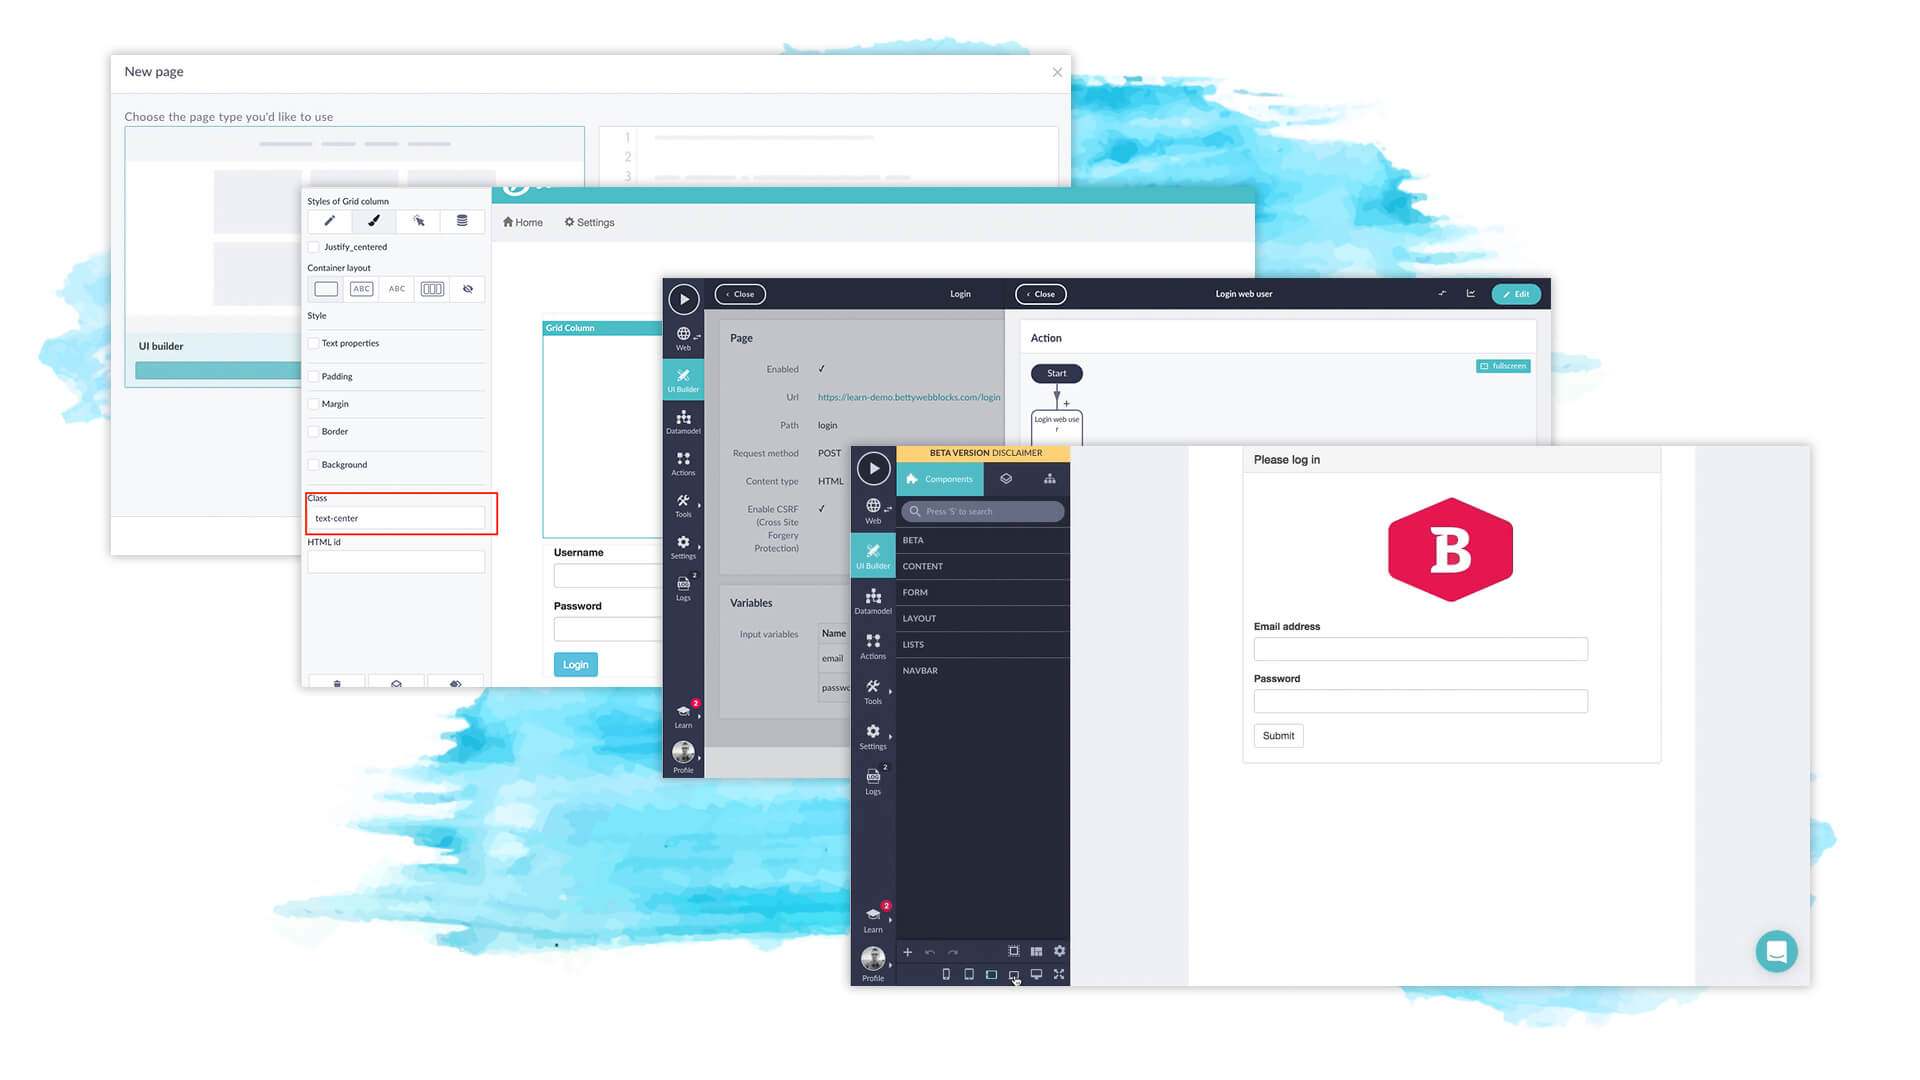
Step 1: Create a blank UI page
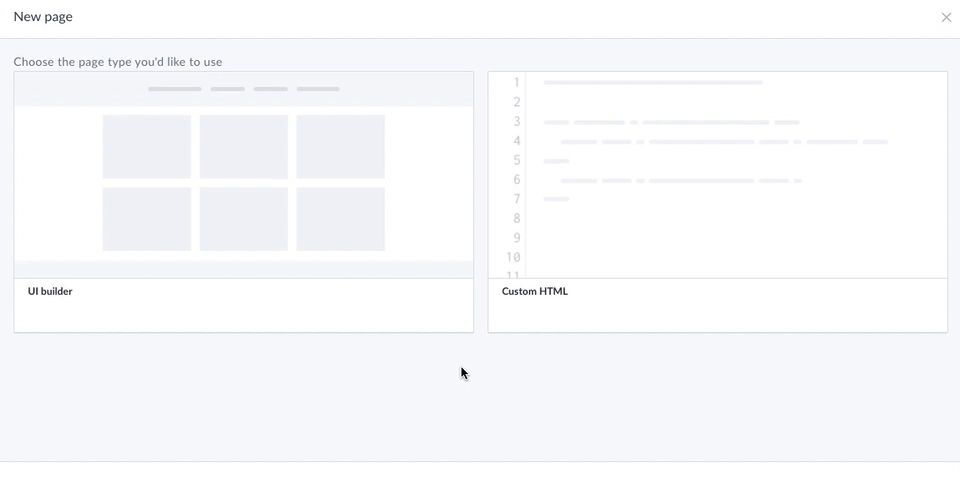
We’re going to be starting things off in the UI builder by creating a New Page. You have the option for a couple of layouts but for now, we’ll just be using a Blank Template. Name the page anything you want and hit finish. Congratulations, you already (technically) have a web application… it's just a little bare.
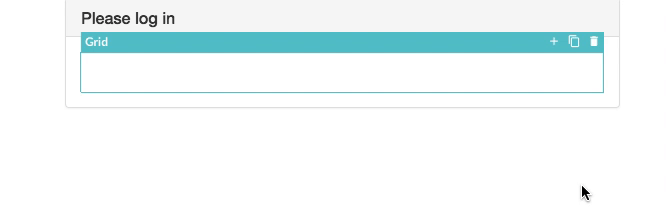
Before we start properly designing, we’re going to add a Grid Layout to the page. You’ll find this and all the other page elements in the UI builder toolbar. Grids add a column structure to your interface. This will open up more design options and customizability because you’re not stuck designing in one large column.
Step 2: Design your page
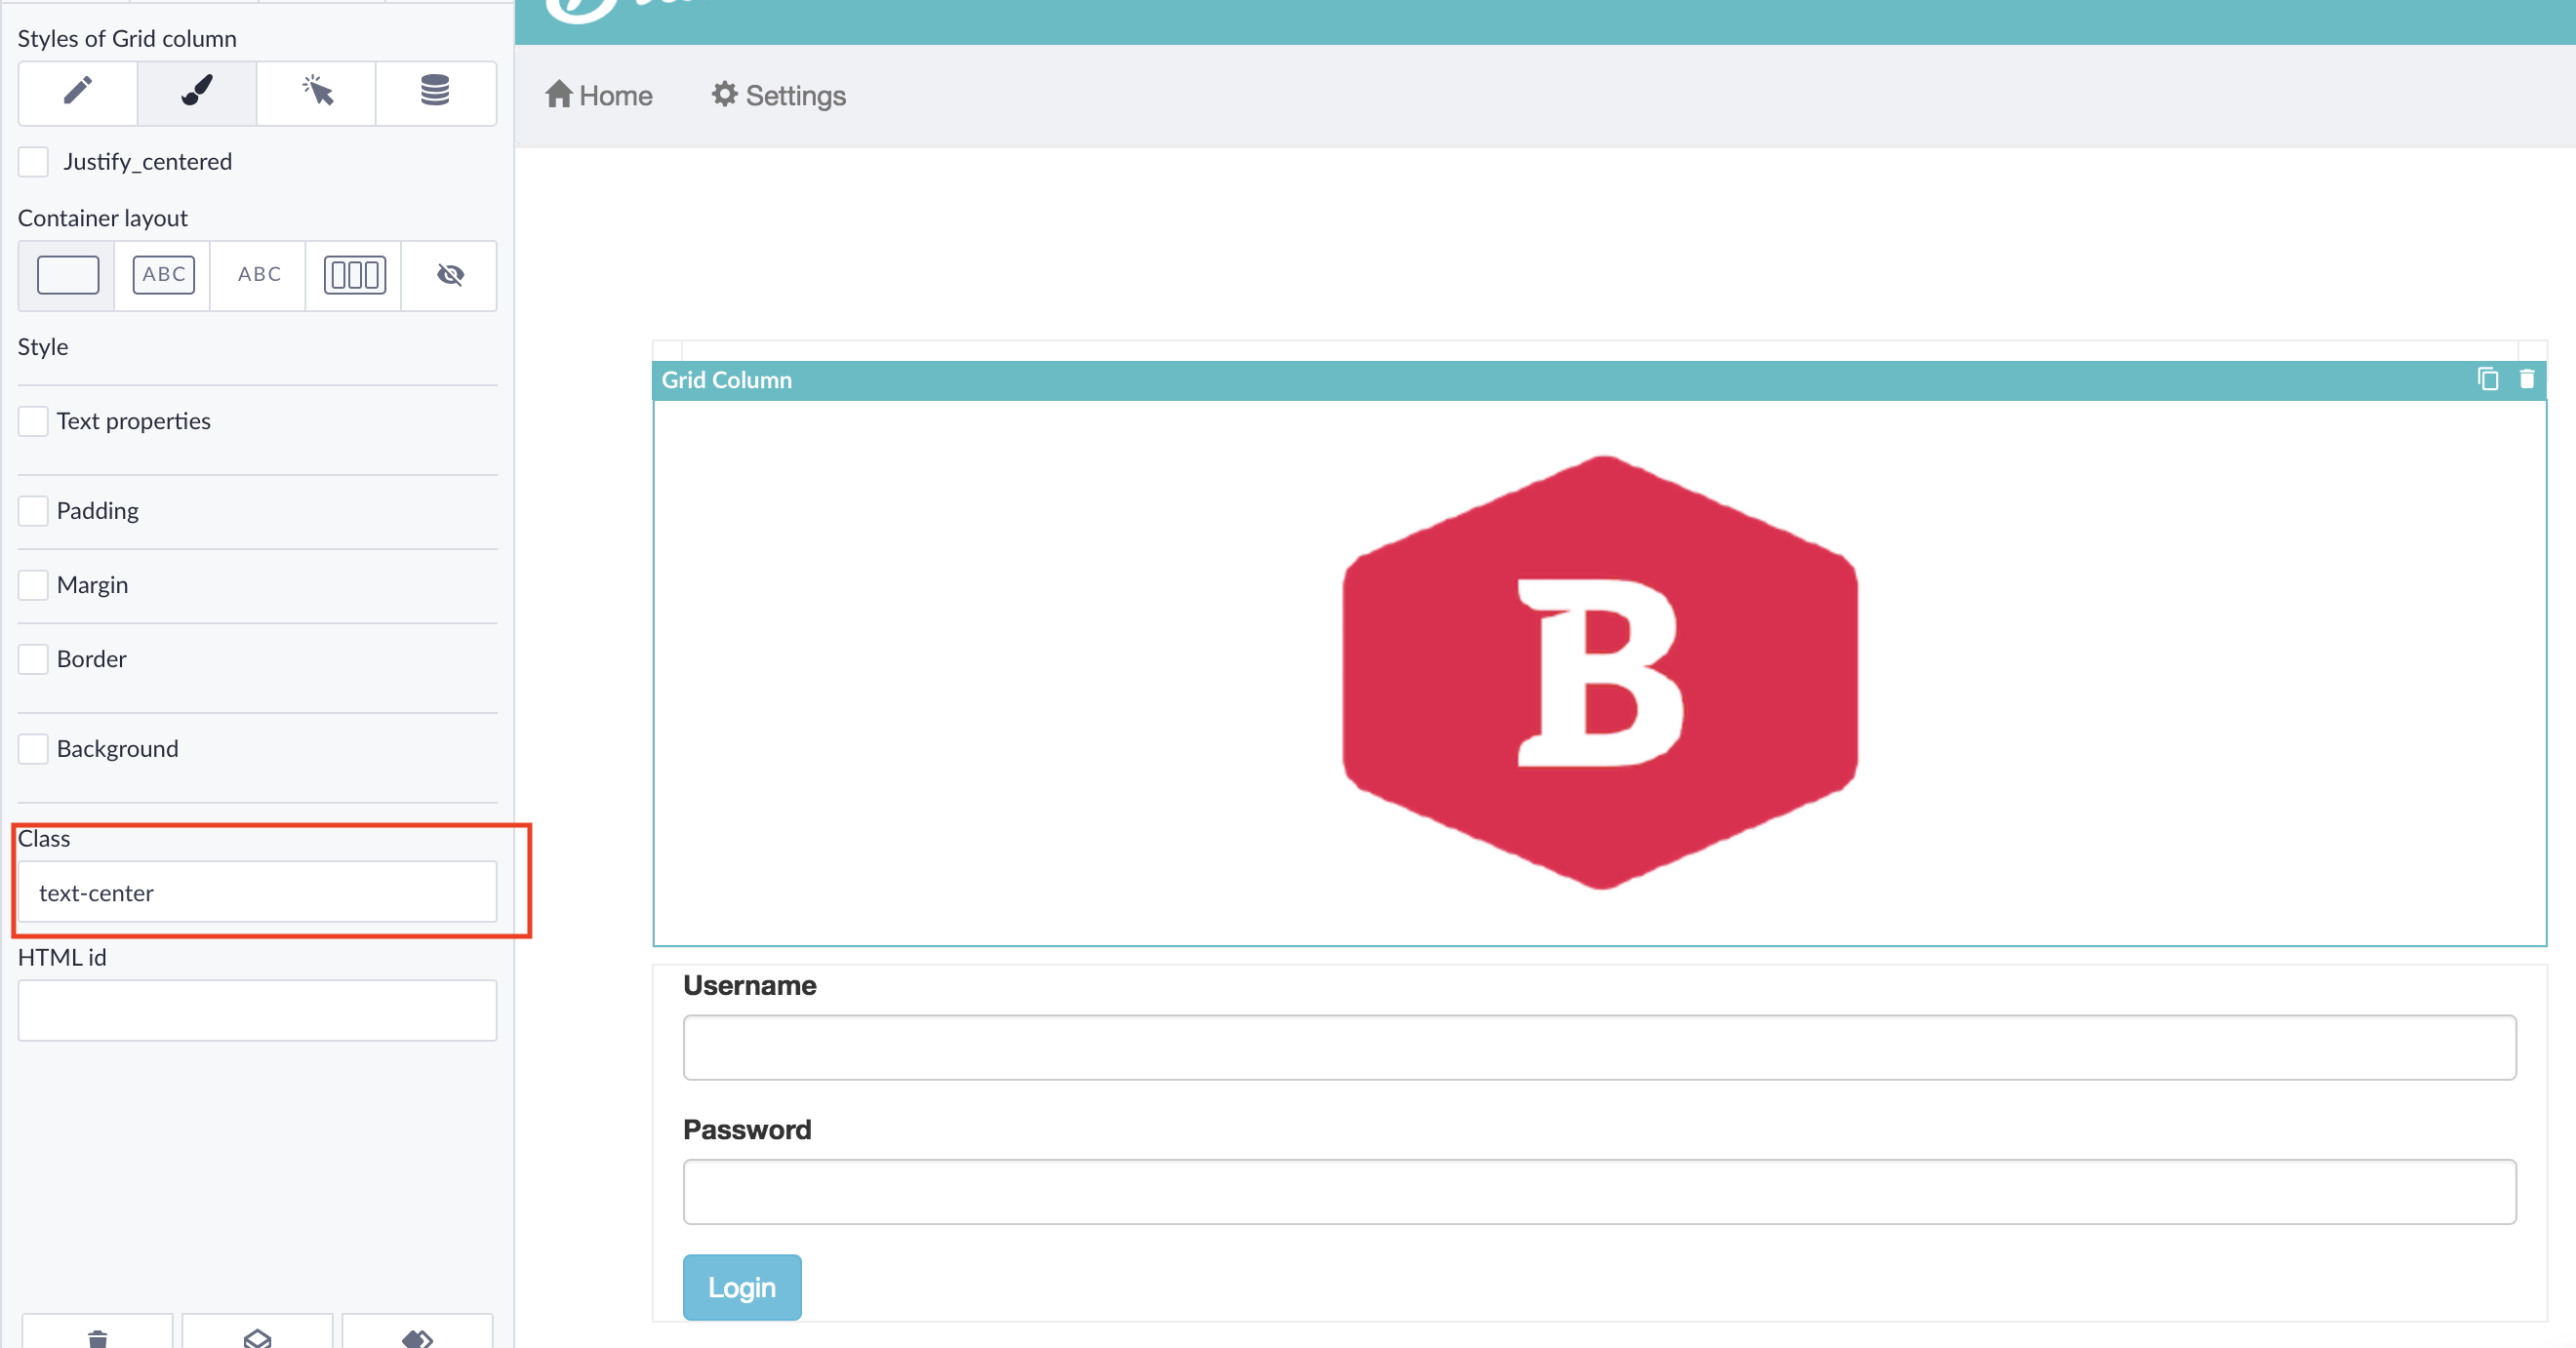
To keep the page tidy, we’ll be creating your login form inside a Panel Element (which you can add from the left hand toolbar). Then, add another Grid Layout into the panel by dragging it into place. For our purposes, we are going to add a second grid row below the one we just added.
(Life hack: Grids and other elements can be duplicated using the ‘+’ button in the top right corner. This will also duplicate the settings so you can easily re-use page elements without re-creating them).
Add a touch of your brand's identity in the first grid by dragging an Image directly into it. Either upload your brand logo, select an image from your public files, or paste the URL of an image to add it to the page. Adjust the positioning (and size) of your image however you like.
Step 3: Create the login form
A login page won’t get you very far if your users don’t have anywhere to fill in their credentials. In the grid below the image, we’re going to add a Form. First thing you will notice is that a button is automatically created. Rename it to ‘login’.
Note: Forms can also be used to create search bars or other data entry fields.
Finally, add 2 Text Inputs in the same grid as the form we just created. This is where your users will enter their info. Rename them as you see fit (we went for the boring old ‘username’ and ‘password’).
Design wise we’re basically done with the login page. All that’s left to do is think about how the page will look on other devices. Each of the grids has settings which can be adjusted per device type, so test out a couple before moving on.
Step 4: Create the login POST
Everything your users will see and interact with on your login page is now in place. Since we’re done designing, it’s time to make the login page functional. To do that we need 2 things: A data connection and a way to verify the username and password.
Our data connection will be handled by a POST page. To make one, we create a custom HTML page with and select the POST method. These POST pages are where we will store and check the username and password with an Action.
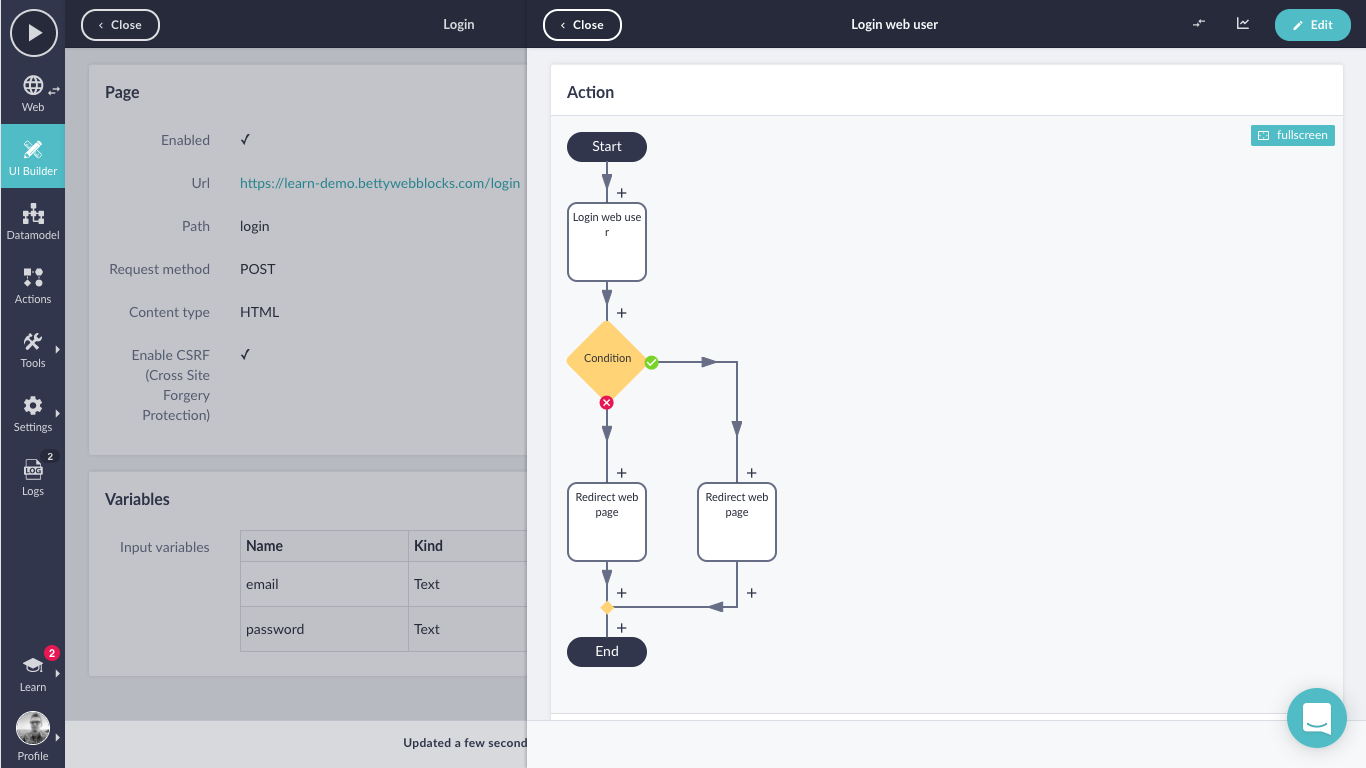
Next up is to redirect the user to the endpoint of your choice. Sounds pretty technical but it’s actually really simple. Check out our detailed guide to see exactly how it’s done. Finally, open your form's settings, and select your POST endpoint from the dropdown.
And that's it! You now have a working login page.
Try it yourself
No-code application development is like riding a bicycle (and we’re not just saying that because we’re Dutch…). Sure, this might look intimidating at first, but as soon as you get going, it’s incredibly intuitive. Betty Blocks is a platform designed by humans for Citizen Developers. Using the drag and drop interface, pre-built templates, and prefabs allows even the most novice Citizen Developers to create whole pages in minutes.
If you want to really put no-code to the test, then you can request a free demonstration here. We’d love to show you the ropes :)

