
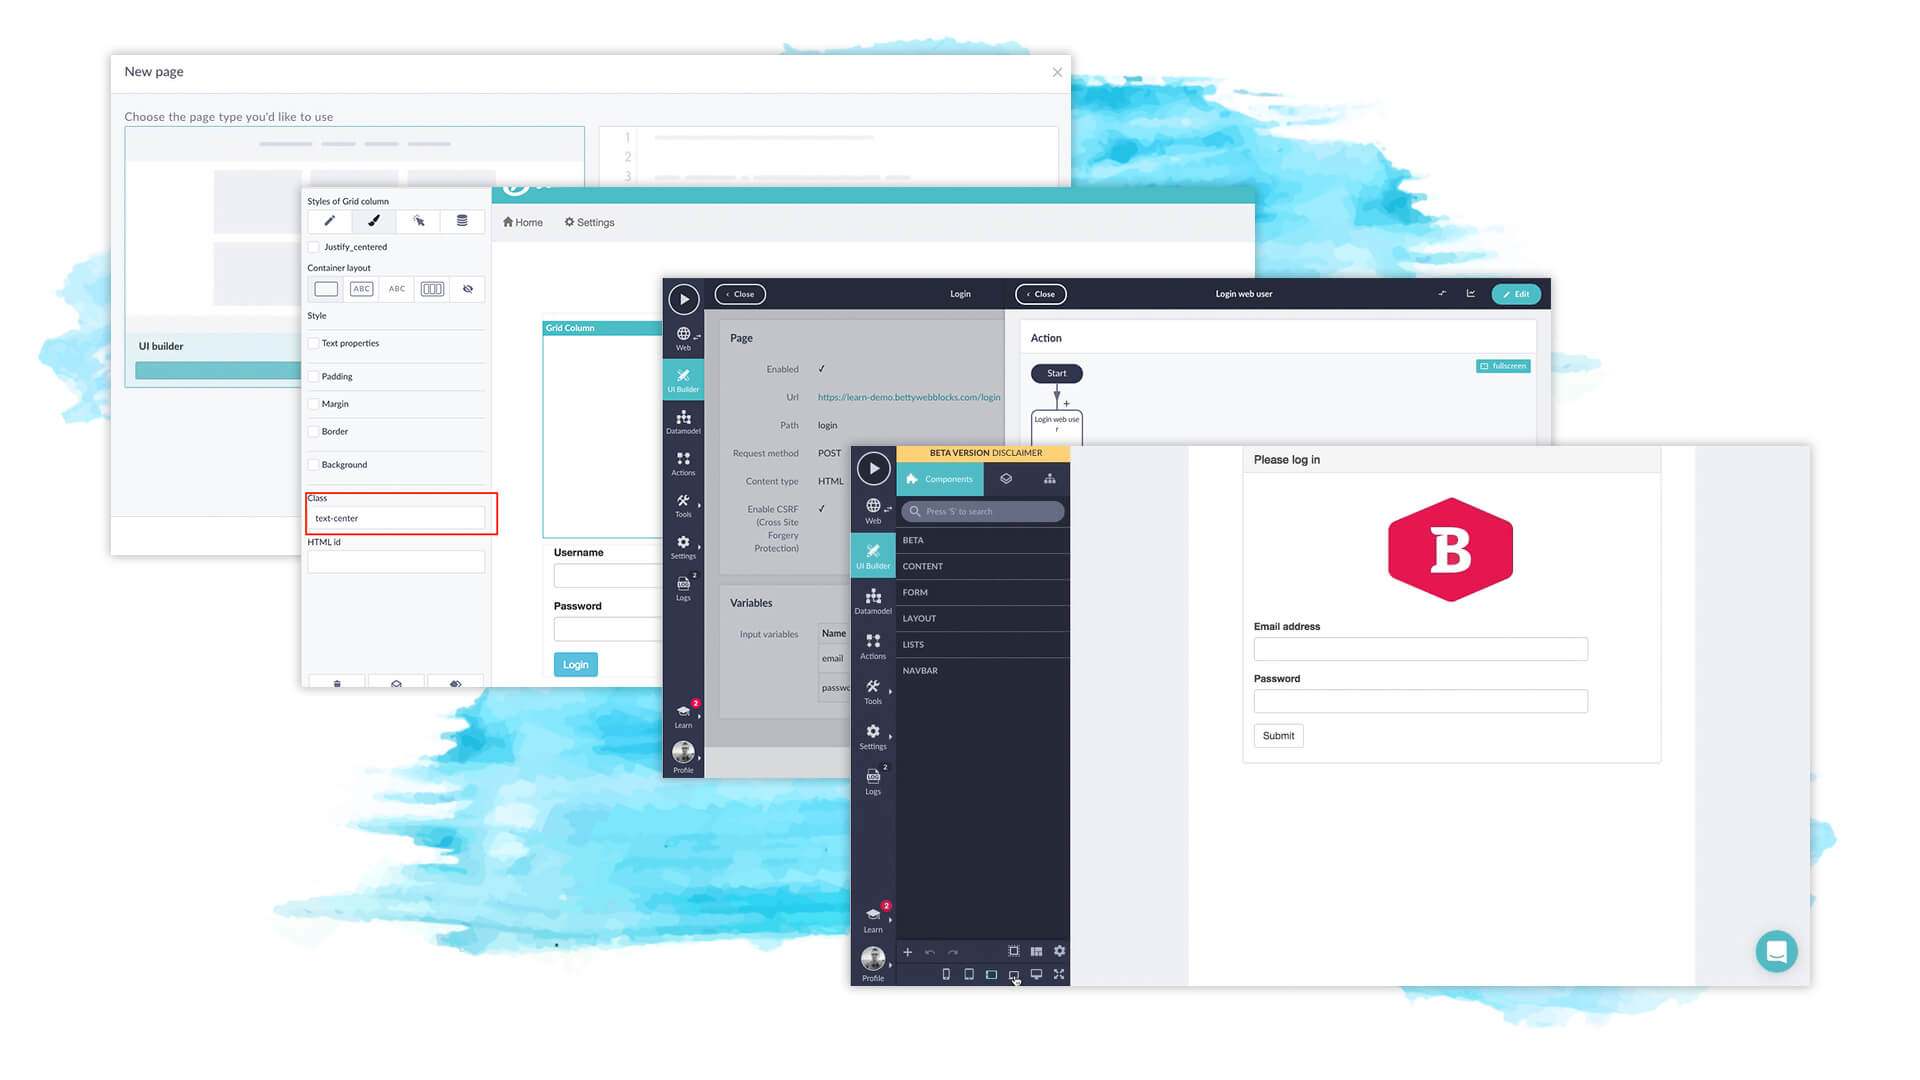
The UI Builder uses a grid system framework to let you flexibly build customizable pages with exact the look and feel that you want. Login pages, the gateway to your CMS, are a great place to exercise some of that customizability by giving even the little details of your application a branded look. Check out this guide to walkthrough how easy it is to build a login page without writing a single line of code.
*This is a general overview to show what building a login page with the UI Builder looks like. For a more comprehensive step-by-step guide, check out our documentation articles on building pages and creating grids.
Here we go!
Step 1: Create a UI page.
Once you're in the UI Builder, start with a blank page, free of any additional layout. You can use UI pages for all kinds of page functions, not just login pages!
Once the page is opened, add a grid to the page container. The grid's options will open on left side of your screen. You can set the number of rows and columns, and adjust the widths to customize your own layout. You can also control the responsiveness of your page by setting scaled widths of the columns, for different device views.
Step 2: Design your page.
Since we want our pages to look nice, we're creating the login form inside a panel. Add a panel to your UI page by dropping it right inside a column.
To build our form inside the panel, we'll need to add another grid.
(Life hack: to create more rows, click the the duplicate icon next to the plus sign to duplicate the grid component and develop even faster. Very useful!)
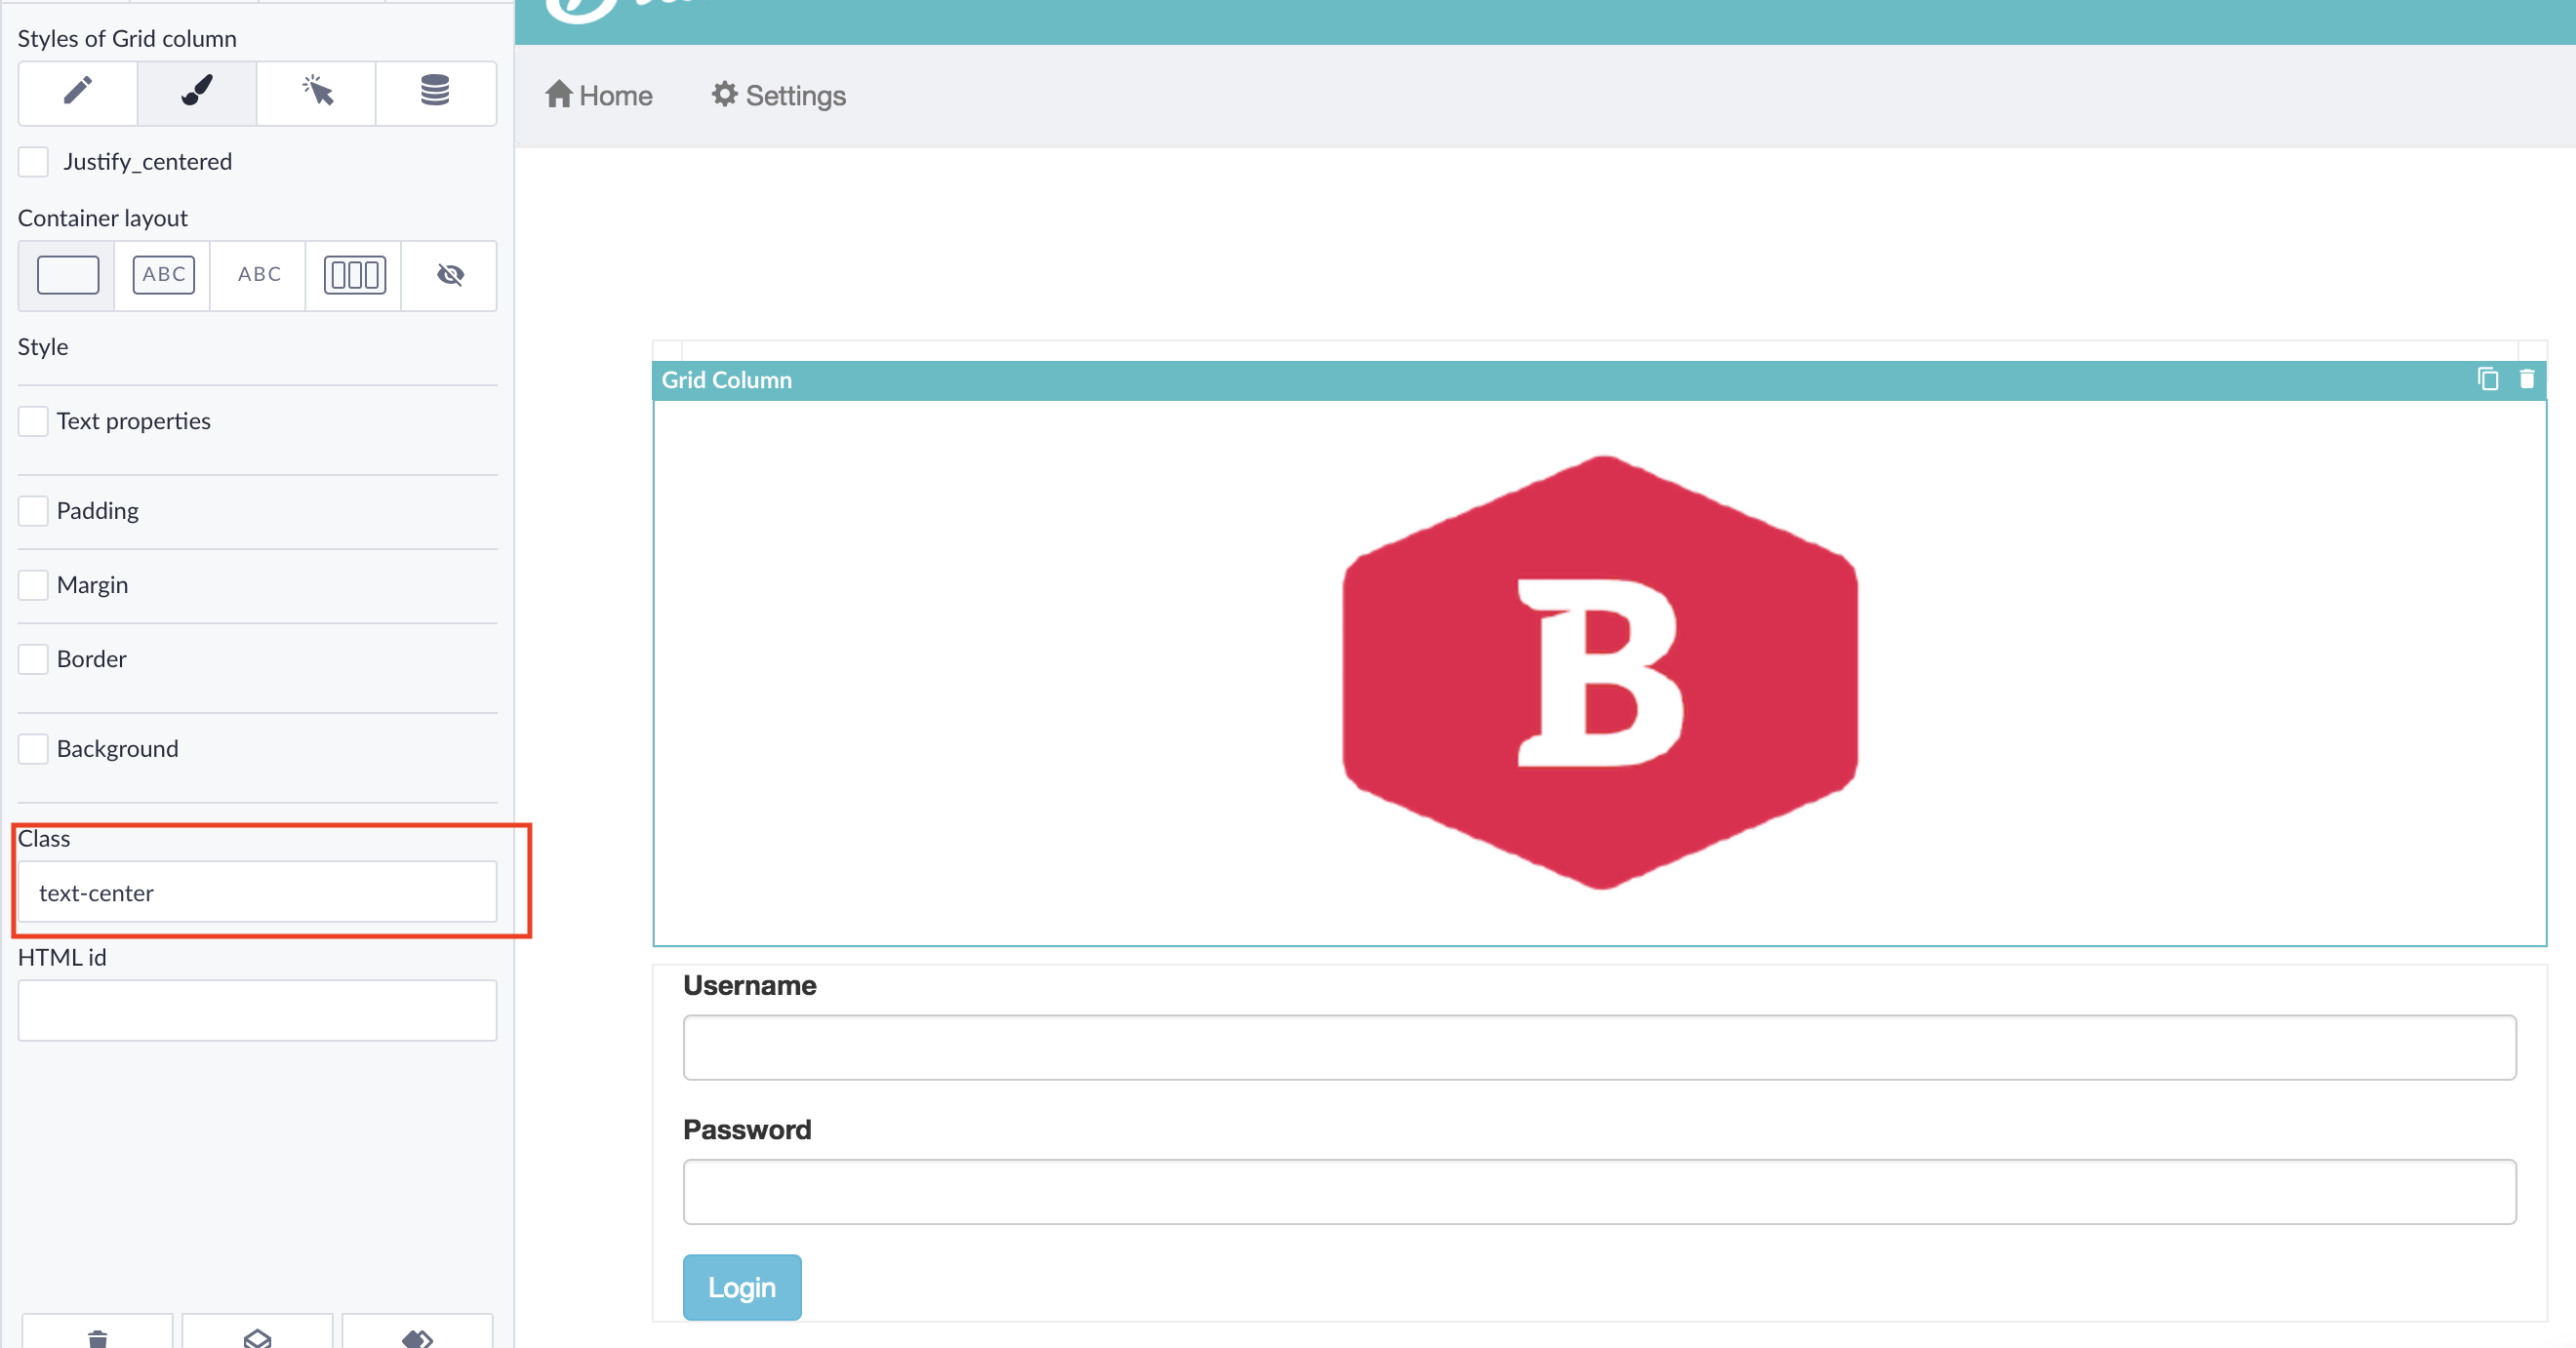
Here you can attach branded images to your grid columns for a custom look and feel. Either upload an image, select an image from your public files, or paste the URL of an image to add it to the page. Adjust the positioning of your image however you like.
Step 3: Create the login POST.
Before we can go further in the UI page, we need to set up the POST page by creating a custom HTML page with a POST method.
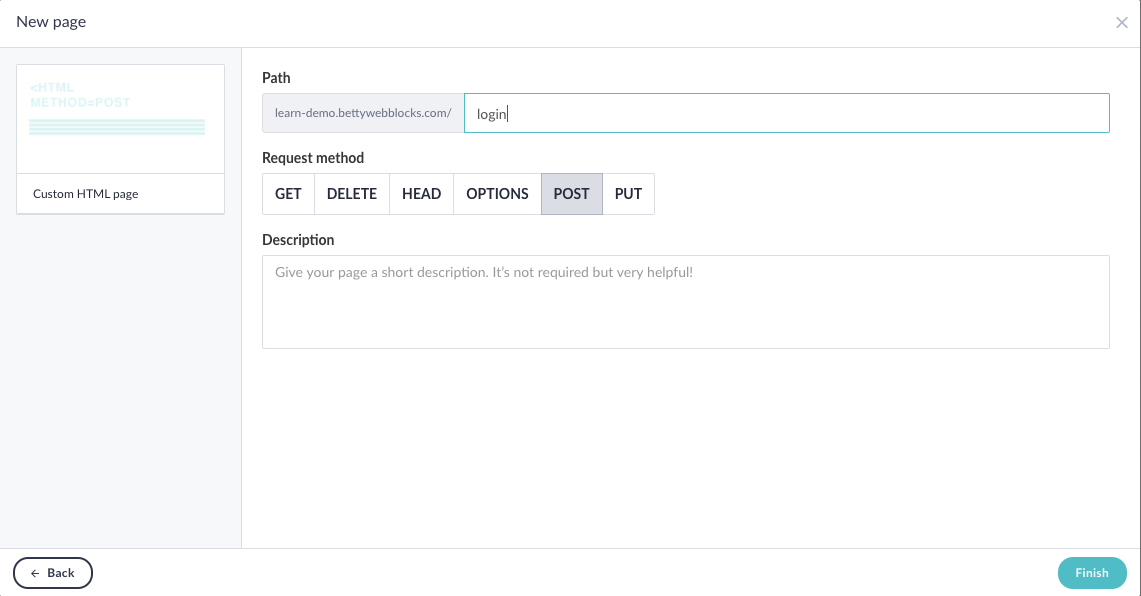
On this endpoint you'll need the two input variables which users can use to log in to your app: an email address and a password. Create these two text input variables.
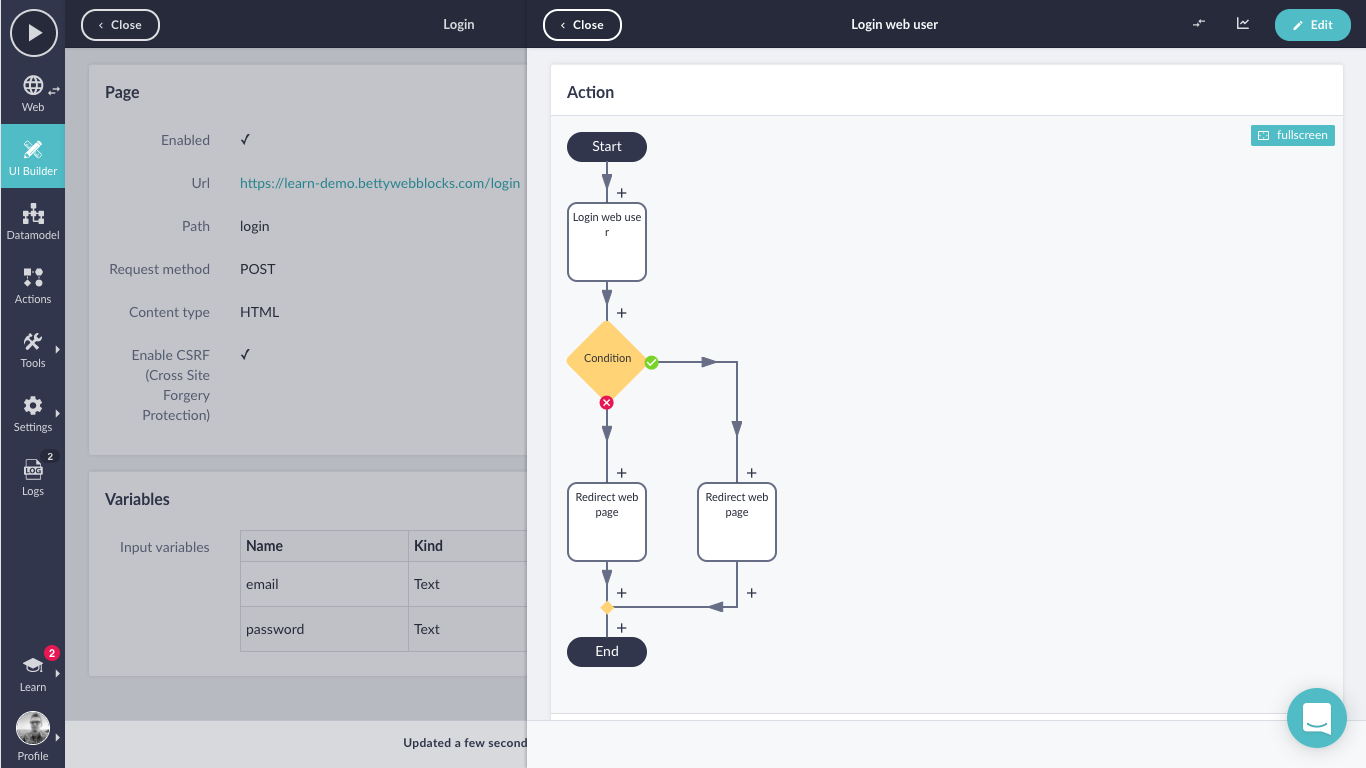
With these two variables you can create the required action that will log in the web user (you'll also have to set up an authentication profile if you haven't done this yet).
If you're all set, you can create the action to log in a web user with the given credentials.
Next up is to redirect the user to the endpoint of your choice.
Step 4: Create the form on your page.
The final step is to create the login form on your UI page. We do this by adding two inputs to one of the columns, one for the user's email and another for the password. Just open the each input's settings to give them the same names as the corresponding input variables on your POST page.
Drop additional grids onto your page to create the structure to keep your form fully intact. This lets you make sure that your page's responsiveness will adjust correctly to different device views.

Finally, open your form's settings, and select your POST endpoint from the dropdown. And that's it! You now have a working login page.
To fully implement as your application's login screen, you'll also need to tweak your authentication profiles accordingly. But that's an article for another day :)
In the mean time, see how it works for yourself. Schedule a personalized demo to try it out!

